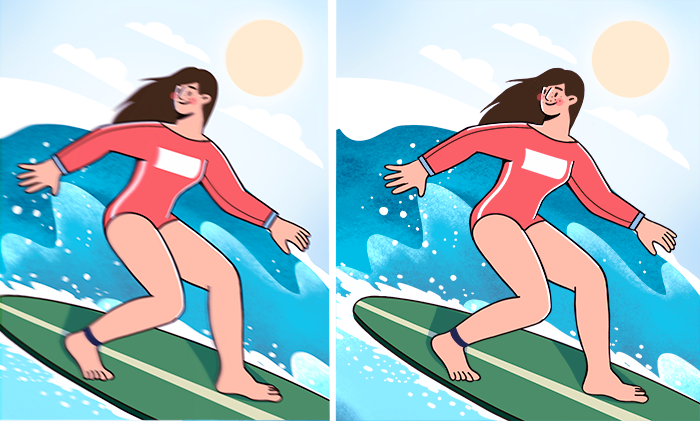
When you shoot a video without a tripod, the output always will be shaky because of the heavy camera or sudden movements. Fortunately, you can stabilize any footage in modern multimedia software, such as AVS Video Editor.
The video stabilization feature removes unwanted jitters from a raw material and fixes blurred parts in a clip. Follow these steps to make your video look perfect.
How to stabilize shaky videos on Windows?
Start with adding your clip to AVS Video Editor. Click Import, choose a file, and drop it to the timeline.
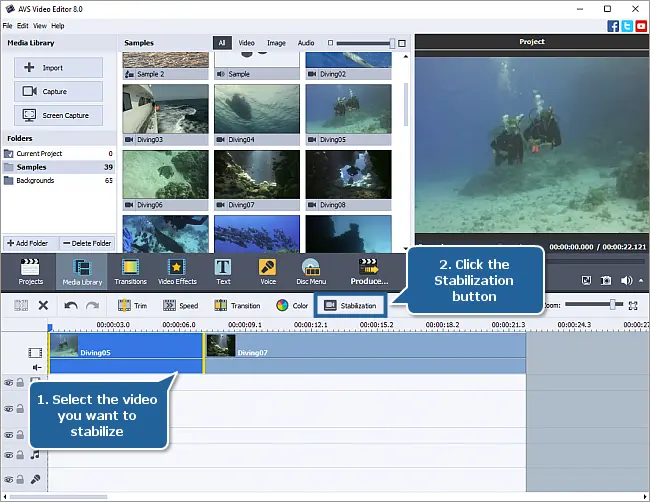
Now select the clip and click Stabilization on the toolbar above the timeline.
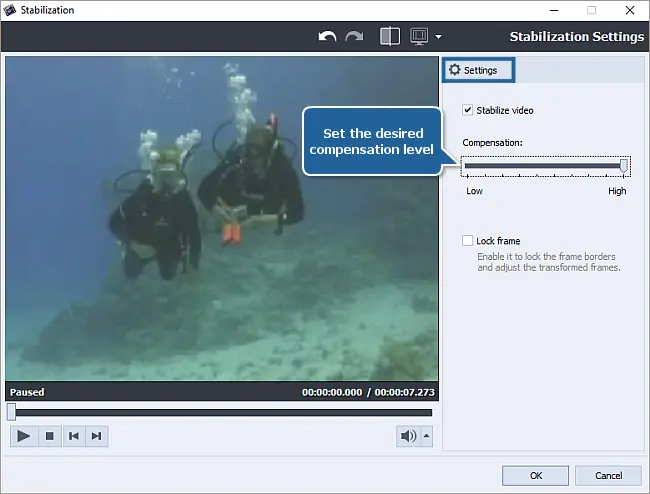
A new window with stabilization settings appears. Regulate the compensation level using a slider — High means better stabilization. Additionally, you can lock the frame borders and adjust the transformed frames.
Preview the stabilized video, and apply changes if you’re happy with the results.
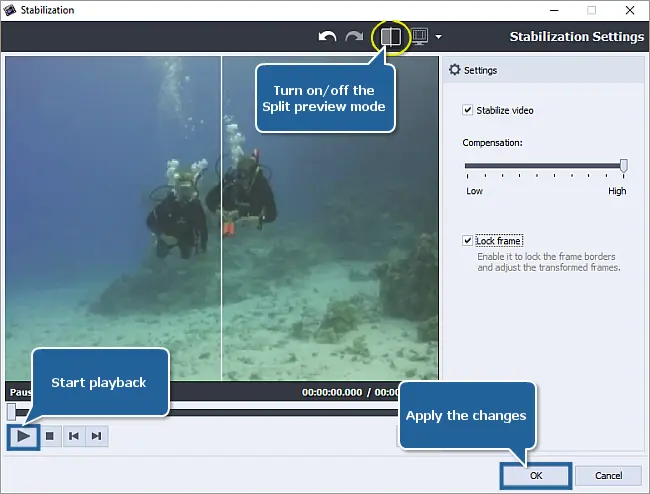
Now you can proceed to saving your movie.
Want to discover more features of AVS Video Editor? Get the app today.
How to stabilize shaky recordings on Mac?
iMovie is the free movie editing software for Apple computers, namely iMac and Macbook. Among numerous available features there is video stabilization. Follow these steps to remove jittering from your clips.
Drop a clip to the timeline and click the Stabilization button.

Activate the Stabilize Shaky Video option.
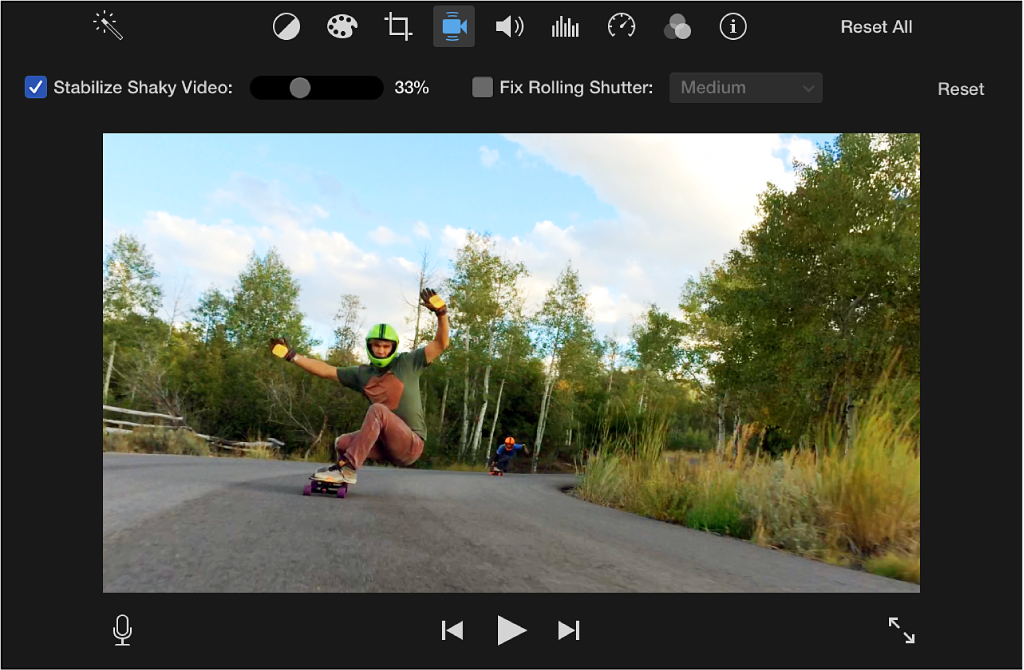
Regulate stabilization using the slider next to the checkbox. Save the output movie when satisfied with the results.
Stabilization on mobile devices (iPhone & Android)
There are so many editing apps that allow fixing shaky recordings right on your smartphone. They’re available in the corresponding categories of App Store and Google Play. PowerDirector is a good example of such software.

To stabilize a clip, tap on a pencil and select Stabilizer. Regulate the intensity of this feature, preview and save your movie locally.
Check other fundamental guides below for easy movie editing.